
.svg)
To use the functionality described in this guide, you should have at least these Permission Sets:
| Permission Set | Name |
| D365 BASIC | Dynamics 365 Basic access |
| D365 ITEM, EDIT | Dynamics 365 Create items |
| DAM EAM MANAGER | EAM Manager |
These can be edited by searching for "Users in Business Central", clicking the associated link and choosing the user you want to give Permission Sets:
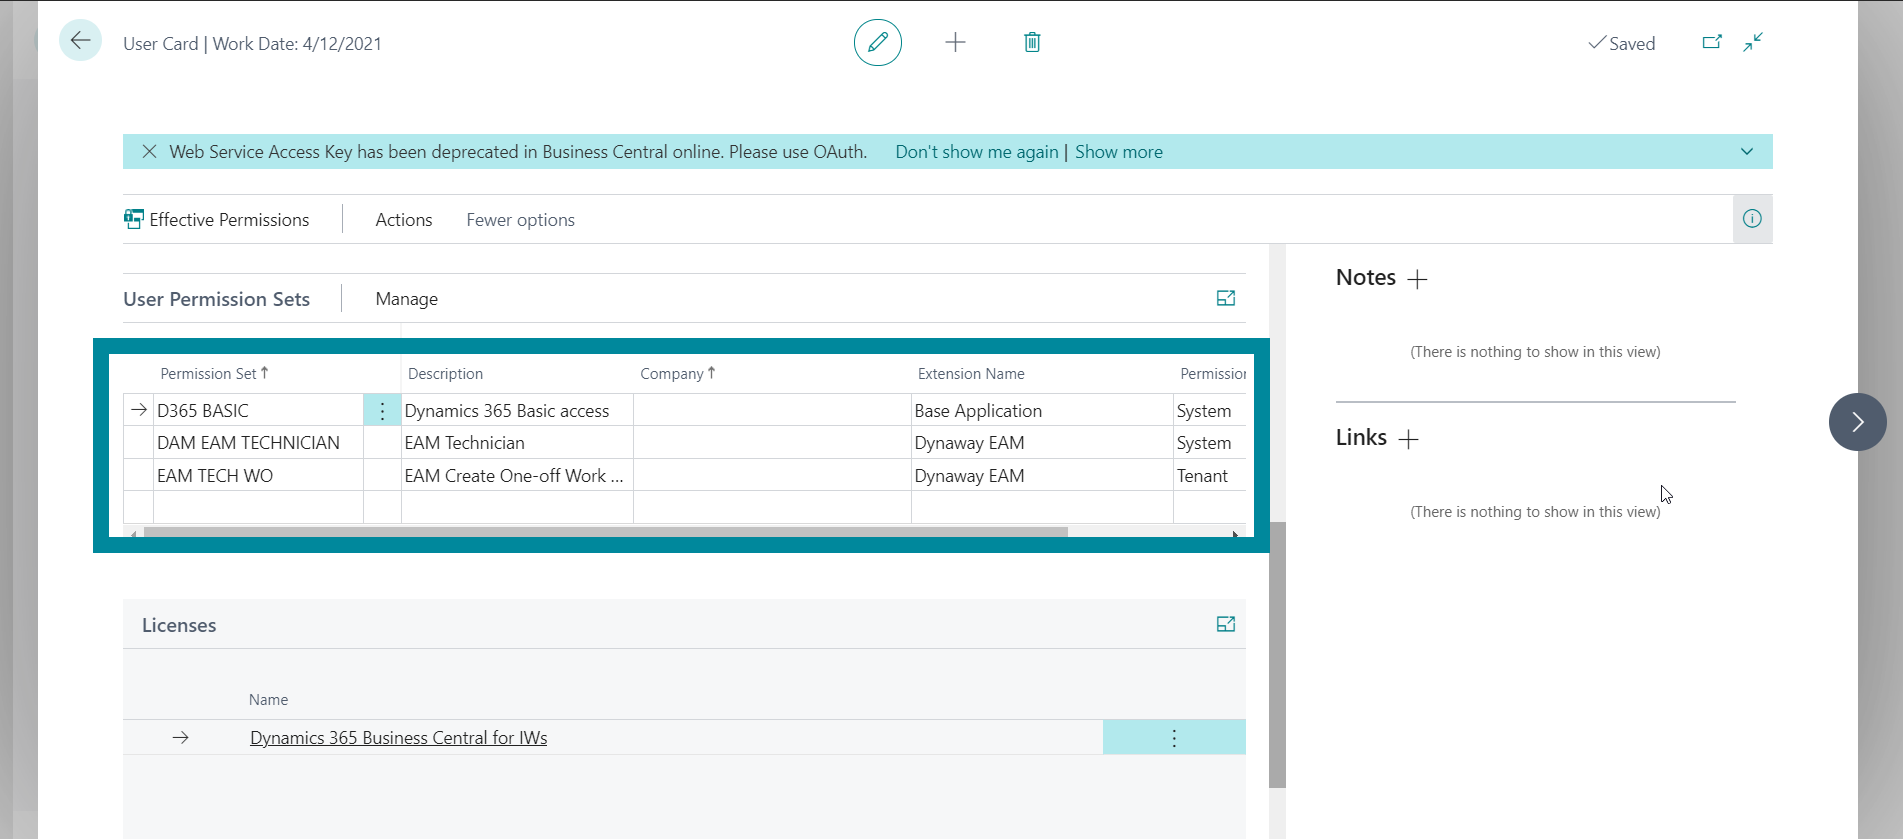
(picture above) An Example of a User Card with Maintenance Technicians Permissions
To find out more about user permissions, visit our documentation or Business Central Documentation to learn about Permission Sets.
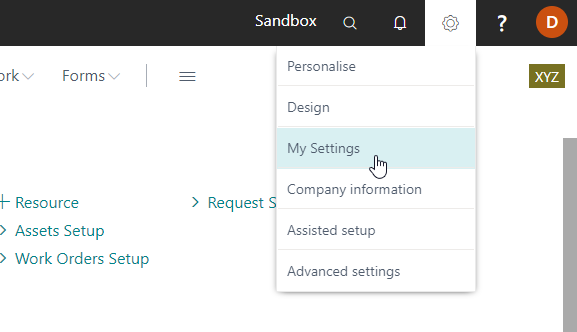
Click the gear icon in the top right and "My Settings"
...role...

And choose the Asset Manager role.
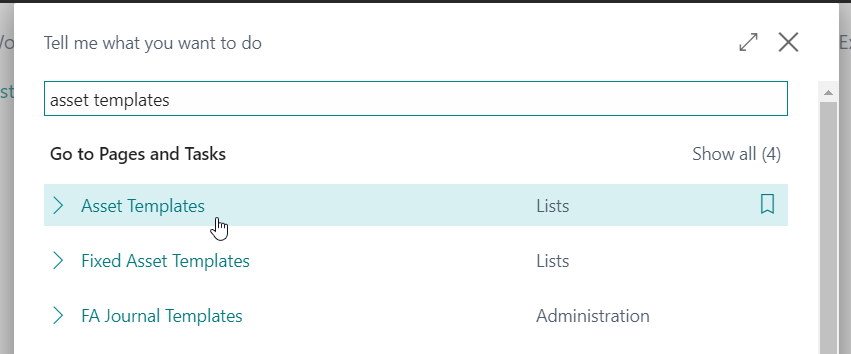
To create a template for your assets, search for "Asset Templates" and click the associated link:
Here, you will set up how a new Asset looks when you create it. If you only have one existing Asset template, it will be automatically used to create an Asset.
You can also create a couple of templates and choose one of them every time you make a new Asset.
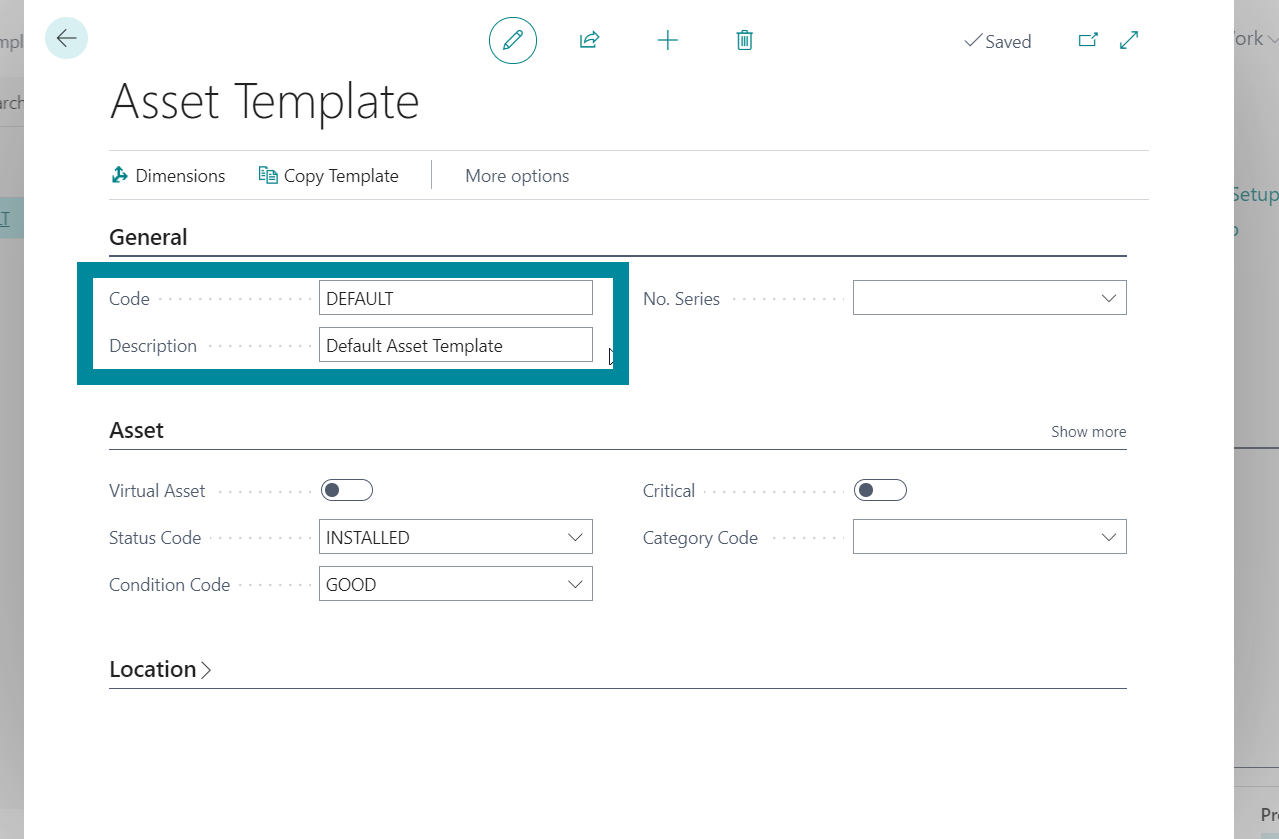
We will create an Asset Template called "Default Asset Template," but you can call it whatever you want (below).
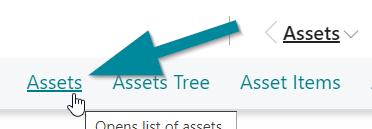
Click on "Assets" and choose "Assets" again to open the Assets list.
and click on "+ New."
If you created one Asset Template in the previous step, this template will be automatically used to create your Asset.
If you created more than one template, you will be asked which template you would like to use.
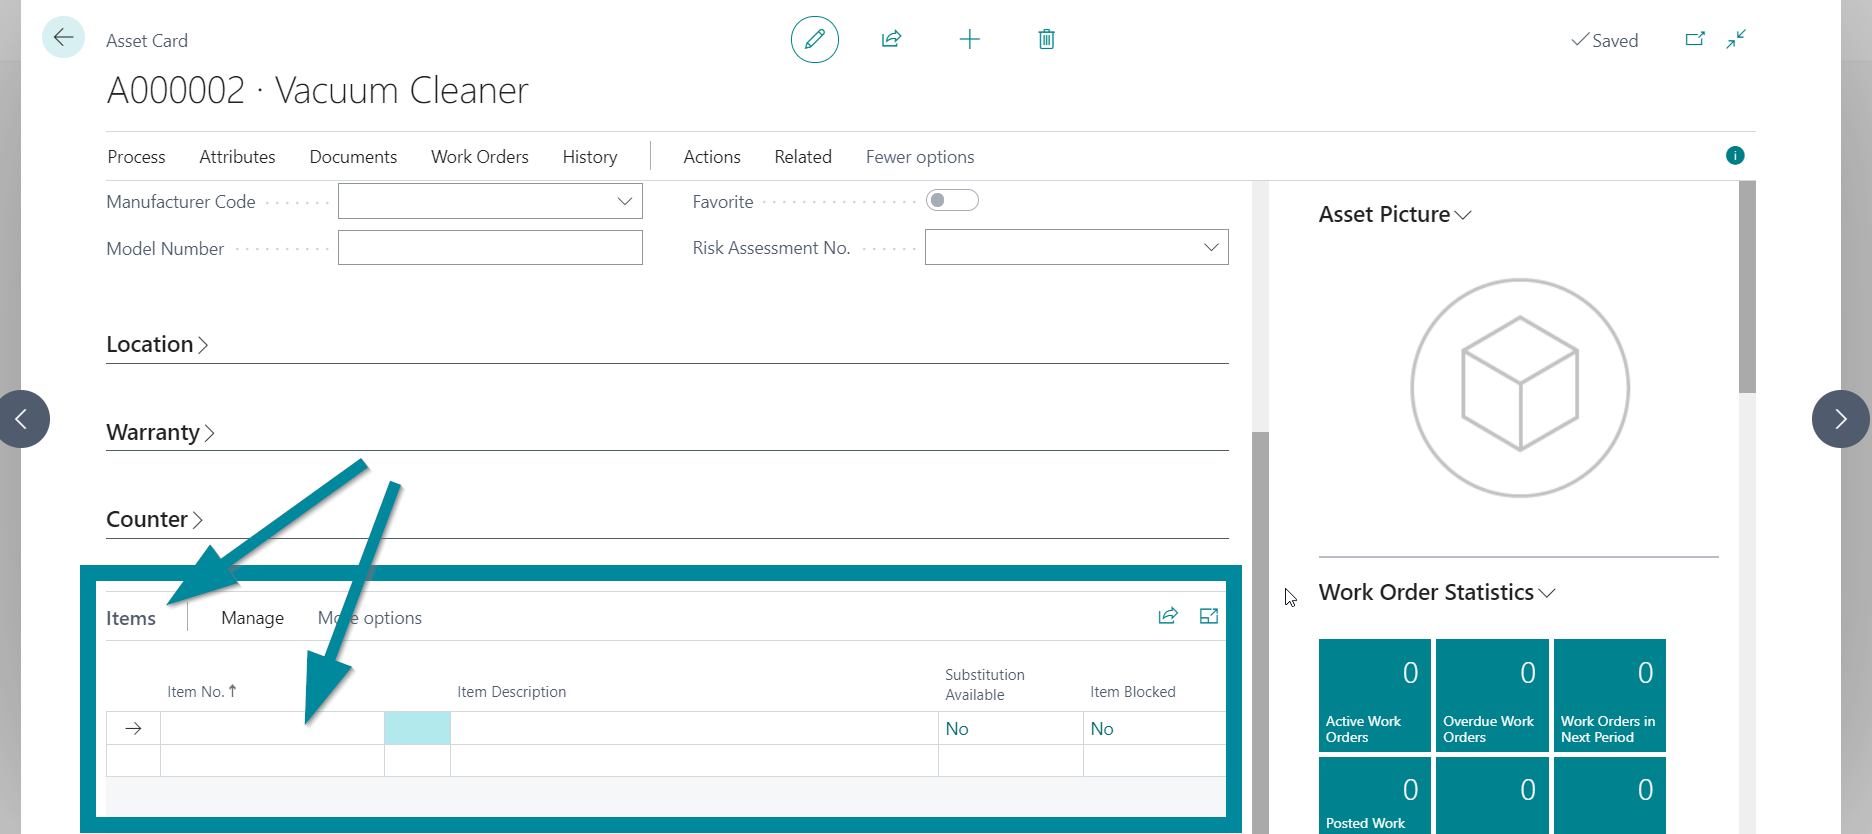
Because of the scope of this guide, we will only focus on the parts of the Asset Card that are needed to create and post a first Work Order.
In the "Items" tab at the bottom of an Asset Card, you should add Items that could be used in connection with this Asset - for example, as spare parts.
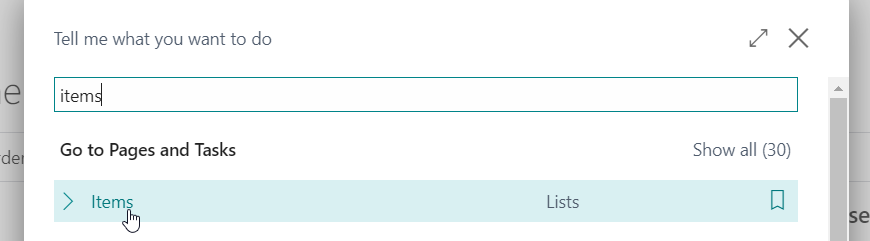
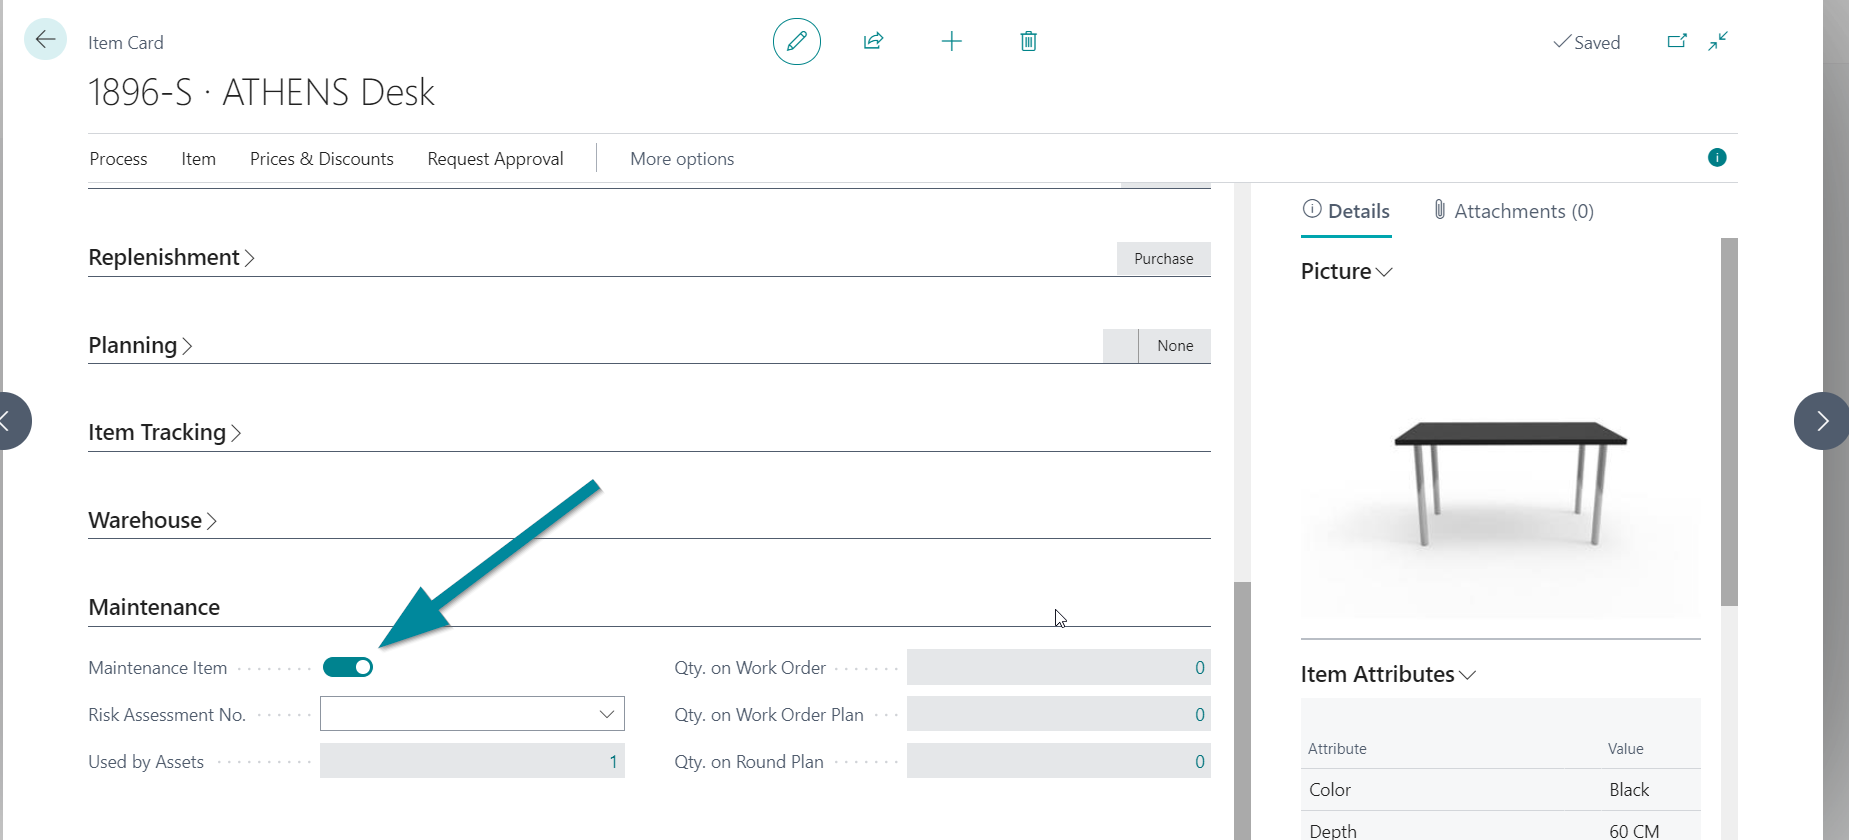
You can make any Business Central Item into a Dynaway EAM Maintenance Item simply by opening it and ticking "Maintenance Item" in the Maintenance tab. To show this to you, we can search for Items:
And by opening an Item from the Business Central demo data and turning on the switch in the Maintenance Tab:
The EAM works like this to show only the relevant Business Central items in the EAM.
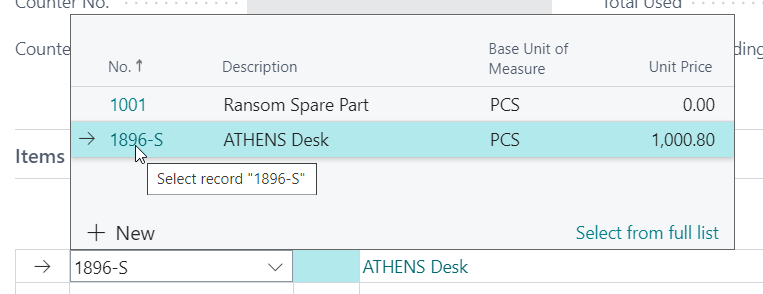
Now we can add the item back on our Asset (Card):
To make your Asset Directory easier to navigate, you should structure your Assets into a tree:
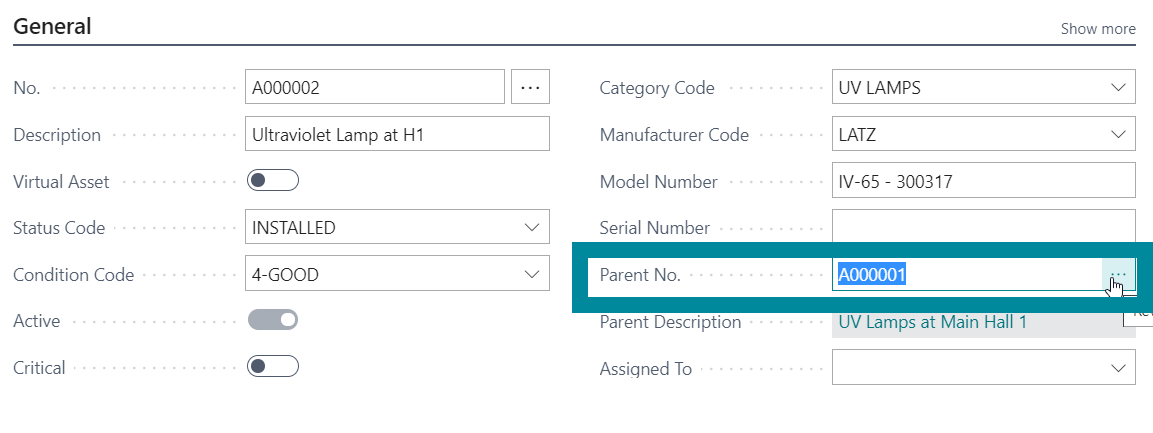
You can do this by assigning your Asset to a parent Asset:
You can also create a child Asset from a parent Asset:

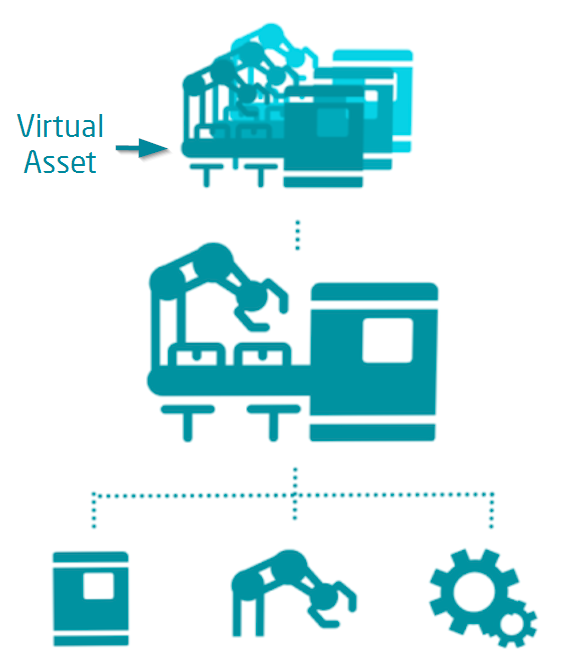
If you want to group Assets, you might find "Virtual Assets" useful. By marking one of your Assets as Virtual, you will tell EAM that this Asset does not physically exist on the floor, and therefore it won't be possible to create a Work Order on this Asset, for example.
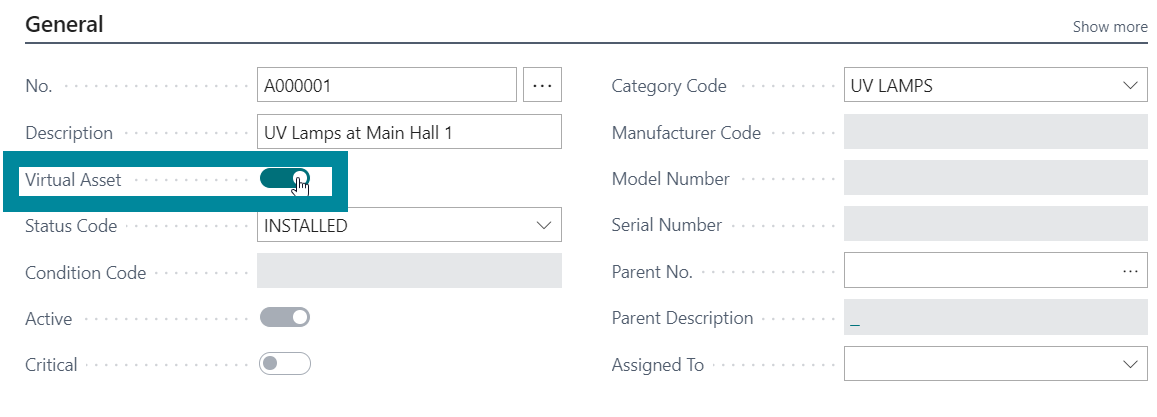
You can then use Virtual Assets as a folder for your other Assets by assigning the virtual Assets as a parent on the children.
Please, create at least 2 Assets, one of which is a virtual-asset parent.
Now let's have a look at the assets in the system from the Assets Tree view.
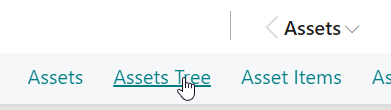
To do this, click on "Assets" and "Assets Tree":
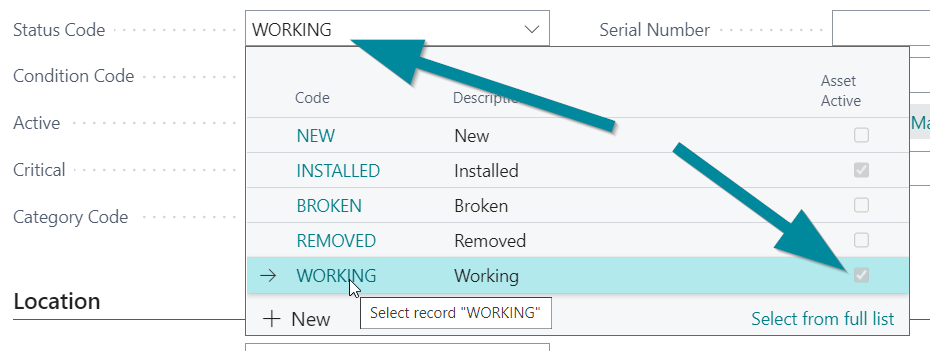
You will only see Assets here that are assigned an Active Status Code. (below an example of Active Statuses on an Asset)
You can also view much other information related to each Asset, like Asset Items.
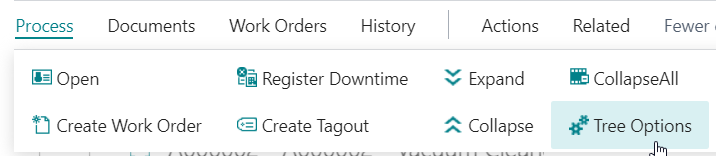
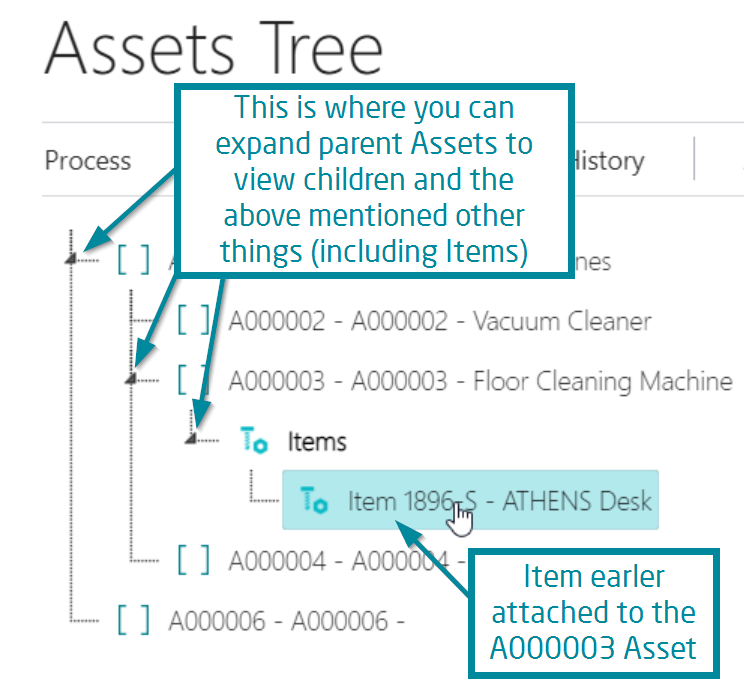
Example: Earlier, we asked you to add an item to one of your Assets. To view this Item in the Assets Tree, go to Process/Tree Options:
and turn on "Show Asset Items":
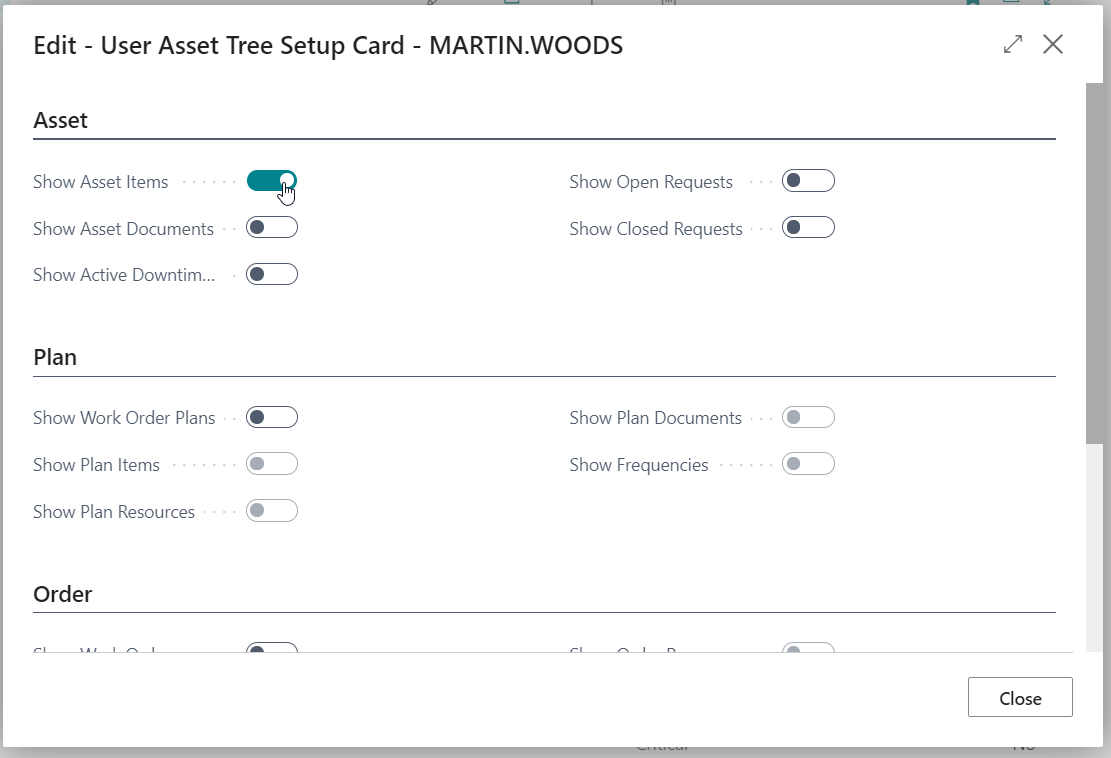
(above) Feel free to add other things that you want to be displayed in your Asset tree.
Now when we click "Close" and click on the little triangles to search for our Asset with an Item connected to it, we will see Items similar to children of Assets:
The Assets Tree is a universal and powerful tool - both for Maintenance Managers and Maintenance Technicians.
Apart from the things introduced so far, you can also perform many actions from the Asset Tree, including creating Work Orders.
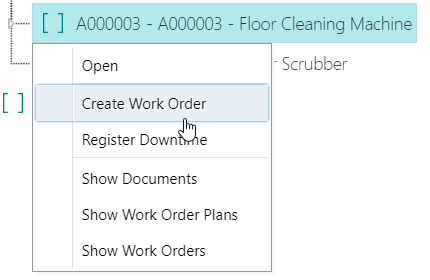
Let's say that one of our Assets broke down and we need to perform work on it. Then we can select this asset and click on Process/Create Work Order 
to Create a one-off Work Order. Remember that you cannot create Work Orders from Virtual Assets.
You can also right-click on an asset to do the same:
And fill in the necessary information:
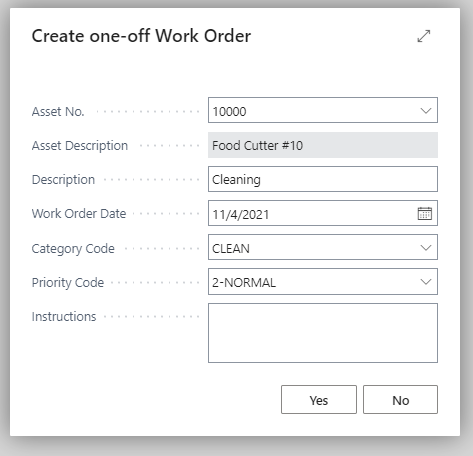
Clicking "Yes" will create a Work Order, from where Items and Resources used during the work on an Asset can be posted.
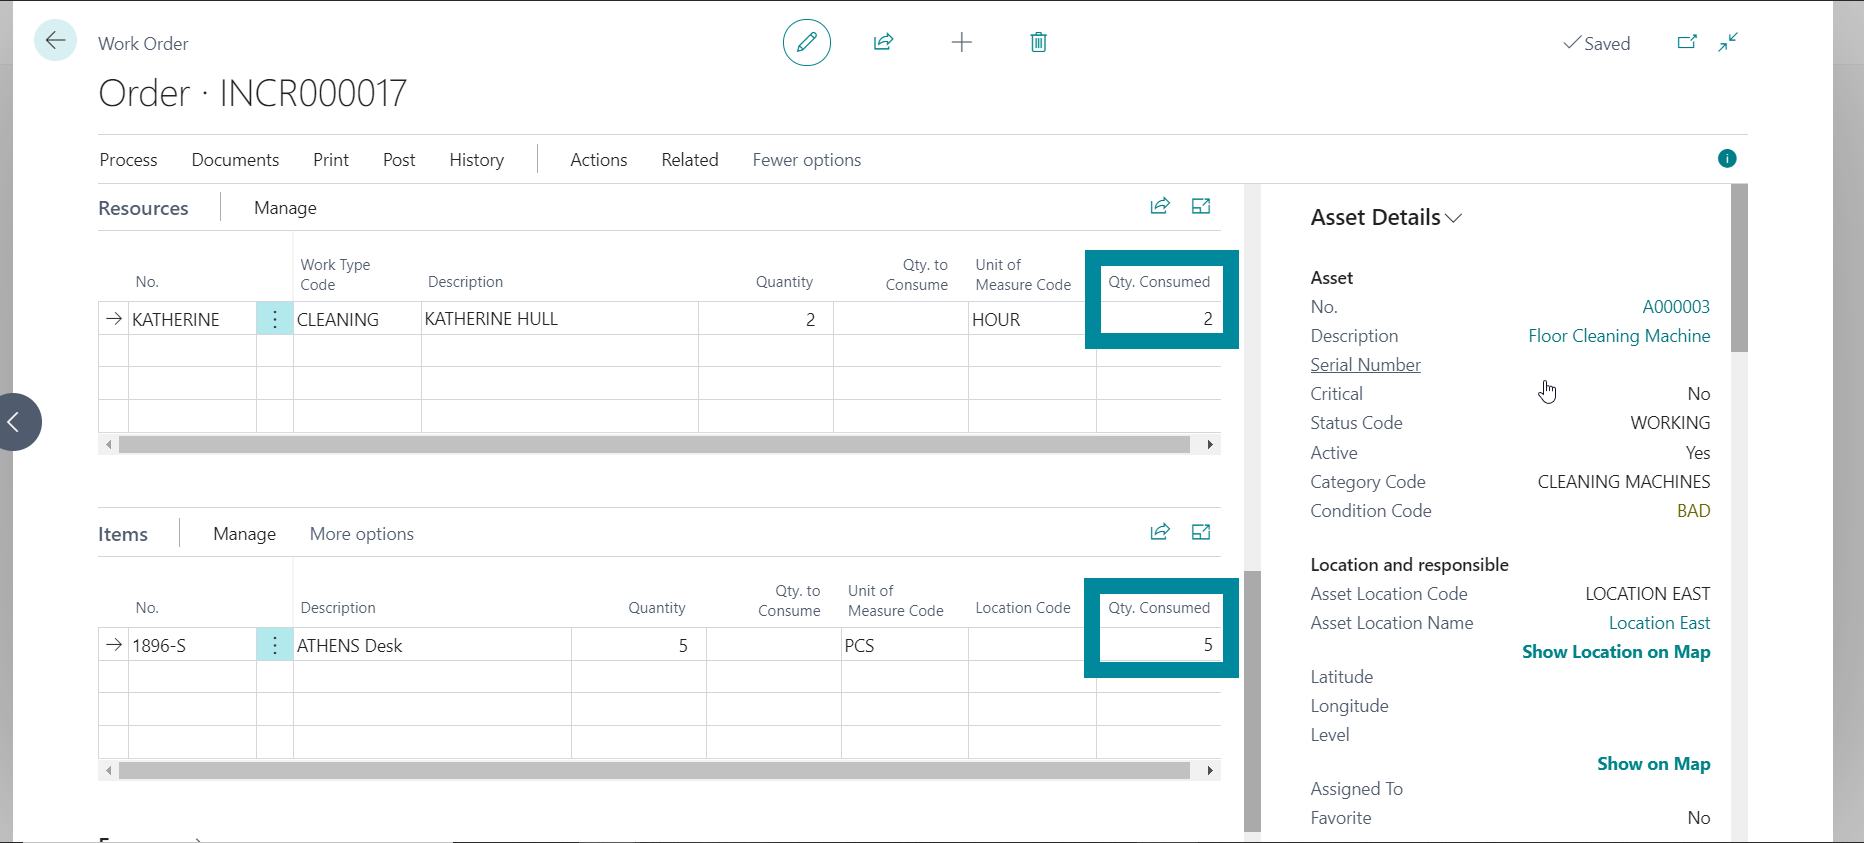
Now that we have a Work Order, we can add Items and Resources used during the work.
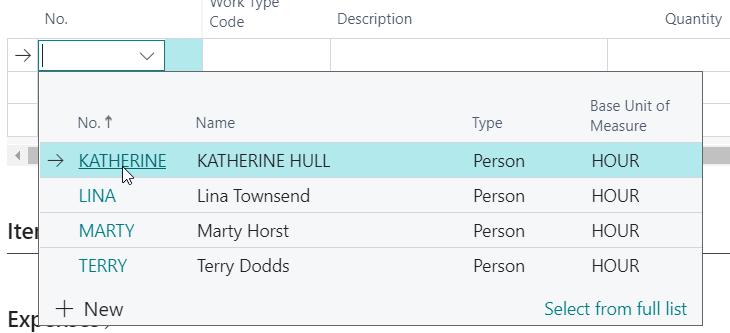
To do this, open the "Resources" tab on the Work Order first. Here we can add (or remove) Business Central Resources:
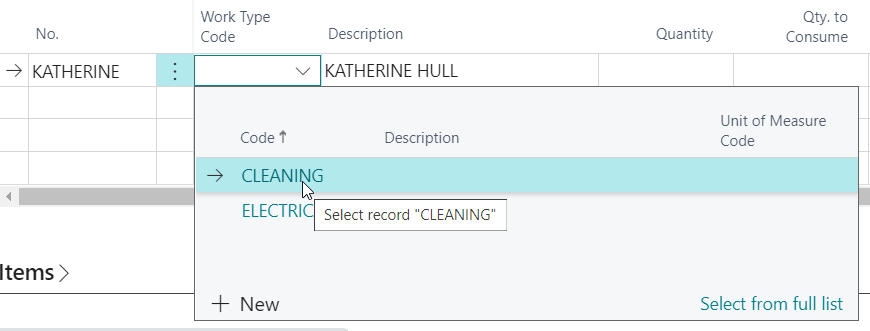
Then we choose the type of work that was/will be performed (not mandatory):
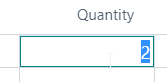
and we add quantity to consume:
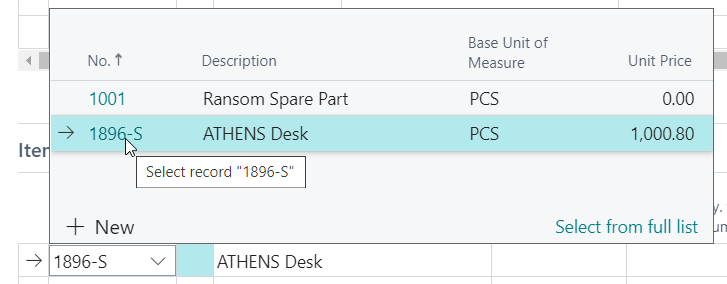
Open the "Items" tab:
...and add a Maintenance Item:
Remember that Maintenance Items are standard Business Central Items. The only difference is that Maintenance Items have the "Maintenance Item" button in the Maintenance tab marked as true:
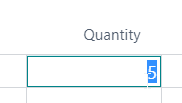
The last thing is to add the number of Items to be consumed:
Usually, you will need a Work Order Plan to create Work Orders.
The Work Order that we created in the previous steps from the Assets Tree has automatically created a Work Order Plan in the background.
To create a Work Order Plan manually, navigate to Work Orders - Work Order Plans:
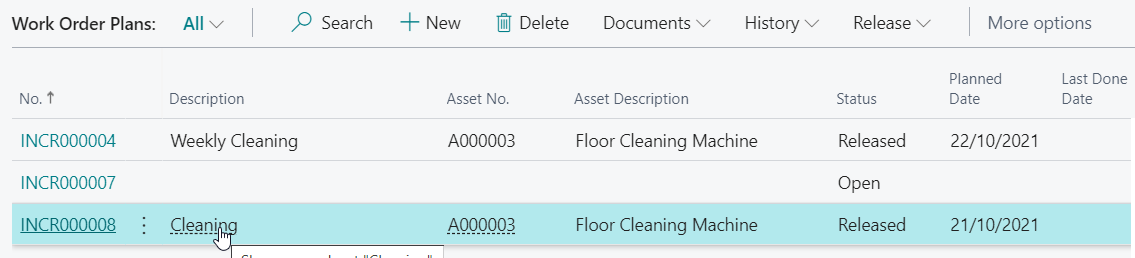
Here we can see the Work Order Plan that was created in the background along with the Work Order created from the Assets Tree:
But we want to create a new Work Order Plan. To do that, click "+ New":

Work Order Plans work like templates for future Work Orders.
On the Work Order Plan, we can specify what will the future Work Orders contain.
Work Orders are like templates for creating Work Orders. It contains many of the same fields and tabs as Work Orders do:
*It is not necessary to add a specific Resource to your Work Order Plans. You can either choose a specific Resource later or Dynaway EAM can find it by itself based on availability (premium feature - Resource Allocation)
All of the above will be inherited by each Work Order that is created from a Work Order Plan.
You can also assign Checklists that will be required to fill in before and/or after the execution of work
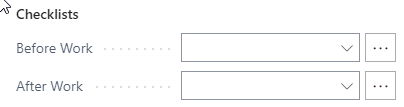
Checklists are created with the Dynaway Forms module that is automatically installed along with Dynaway EAM for BC.
If you want to attach a Checklist to a Work Order, you will have to create a Form Template with a Category "WO Checklist".
A Checklist Template can only be used on a Work Order Plan when it's released!
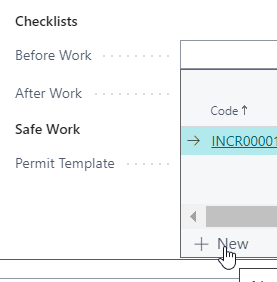
Form templates can be done directly created from a Work Order Plan by clicking on +New in the dropdown menu:
Search for and select Form Templates.
Select New.
Enter a Name (title) for the Checklist. A number is automatically created for the template from the number series setup.
Enter a Description.
Select a Category Code of type "Work Order Checklist."
On the Questions FastTab, you add the required Checklist tasks as lines. Enter text in the Question Text field.
Enter Instruction Text if further explanation is required (apart from what you added in the Question field).
Select a Type on a Checklist line.
If you select type "Options" or "Select" or "Record Lookup" on a Checklist line, additional configuration is required. Select the link in the Configuration field to apply the details.
If you select type "Boolean" or "Options" or "Select" on a Checklist line, you can choose Related Forms, meaning you can set up an answer or selection on the checklist line to trigger another Form (Checklist) to be filled out.
If you select Forms to be triggered by a specific answer or selection, those answers/selections are shown as links in the Related Forms field on the Checklist line.
The screenshot below shows an example of a Checklist to be done before work.

. The second checklist line uses the type "Options," and the options are:
- "Yes, I cleaned the floor," and
- "No, contact the Facility Management Dept."
If the "No, contact the Facility..." is selected by a Technician, that selection triggers a Related form (Checklist), which must also be filled in.
Select the Mandatory check box for lines that are important to the task at hand.
If a Checklist line allows multiple answers, select the Multiple Choice check box on the line.
If a Checklist line involves GDPR-related data, select the GDPR check box on the line.
When you have completed the Checklist, select Release > Release in the ribbon.
The Status field is updated to "Released." Now, the Checklist can be attached to a Work Order Plan.
------
Note: It is possible to revert status on a Checklist to status "Open." You should revert your Checklists to status "Open" if you want to prevent the selection of the Checklist on a Work Order Plan.
To revert the status on a Checklist, you select Release > Reopen in the ribbon.
Tip: While creating a Checklist, you can select preview a Checklist by clicking Process > Preview.
Maybe the most crucial part of a Work Order Plan is the Frequencies tab.
In the Frequencies tab, you determine when a Work Order is created from a Work Order Plan.
Important note: There can always be only ONE Work Order created from a Work Order Plan at a time. A next Work Order can then be created only when the previous one has been closed.
Frequencies on a Work Order Plan:

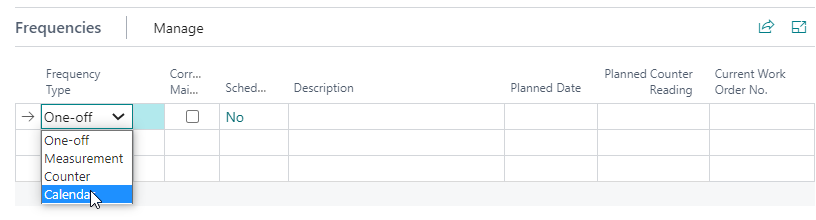
Four frequency types can be used in Work Order planning:
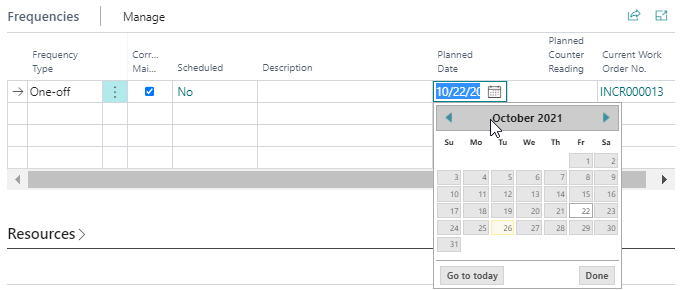
One-off frequencies create Work Orders on a specific date. They are by default marked as "corrective" but can be set to preventive as well.
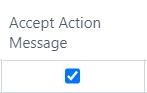
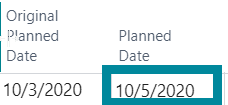
Assigning a one-off frequency to a Work Order Plan is very simple - choose the frequency type "One-off" and then fill in the Planned Date for when the work should take place:
You can use Calendar frequencies for scheduling reoccurring maintenance based on time. EAM always treats it as preventive maintenance.
The "Calendar" frequency allows you to plan Work Orders periodically - daily, weekly, monthly, or yearly.
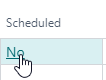
To add a Calendar frequency to a Work Order Plan, scroll to the "Frequencies" tab and add a new frequency with a type "Calendar":
Then click "No" under "Scheduled":
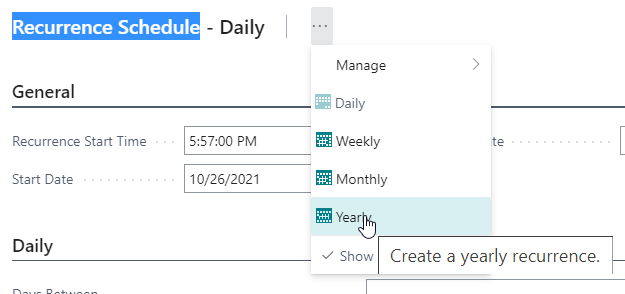
The Recurrence Schedule window will pop up. First, you will need to choose one of the reccurrence types. To do this, click the three dots at the top of the window.
Let's, for example, choose a weekly reccurrence. Then under the "Weekly" tab, the distance between weeks and which days work order plans should be triggered can be selected:
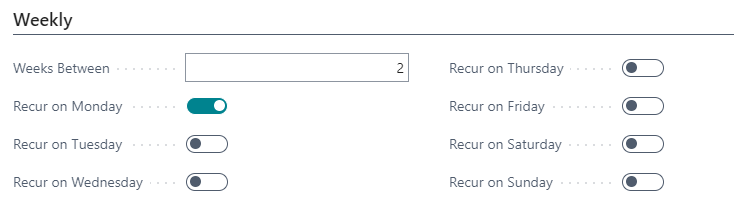
The screenshot above is an example of how a frequency that is triggered every second week on Mondays would look like.
When you are done, click "OK."
Counters are only available with one of our premium plans.
Counters create Work Order Plans based on a linear value - e.g. running hours, qty. produced, milage. It is treaded as preventive maintenance.
You can only add a Counter frequency line if the Asset selected on the Work Order Plan has a Counter installed (next slide).
How to add Counter frequency to a Work Order plan:

First, a Counter needs to be created:
Then the Counter has to be added to an Asset to be used on Work Order Plans that contain this Asset.

Now your Asset has a Counter mounted to it, and it can be used on Work Order plans.
When you are done filling in your Work Order Plan, the first thing that you should do is to release it.
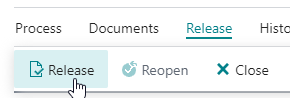
You can release your Work Order Plan from your Work Order Plan by clicking "Release/Release":
Now there are 3 ways Work Orders can be created from Work Order Plans:
If you have set up the EAM to "Calculate Work Orders on Plan Release" in Asset Management Setup:
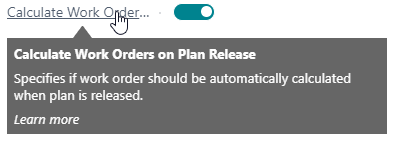
Work Orders will be created automatically when you release a Work Order Plan.
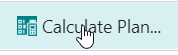
By manually, we mean that you can create a Work Order from each work Order Plan directly by clicking Process/Calculate Plan.
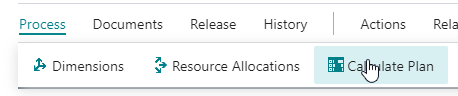
After you click "OK" a Work Order will be calculated based on the frequencies.
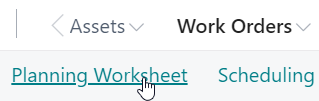
In semi-automatic Work Order scheduling, someone like a Scheduler or a Maintenance Manager can decide which Work Orders are created and change them in the process. This can be done on the Planning Worksheet.
Use the Planning Worksheet to calculate multiple Work Order Plans (and Round Plans if you use the Rounds module in EAM-BC) at a time and create Work Orders (or Round Orders) from the plans.
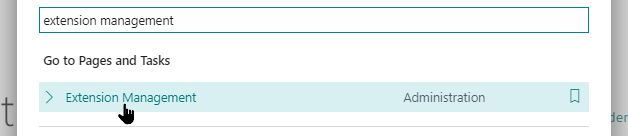
Search for and click on "Extension Management":
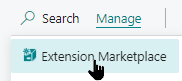
And then click "Manage/Extension Marketplace":
Then search for Dynaway and click on "Free Trial" under "Dynaway Scheduling Board":

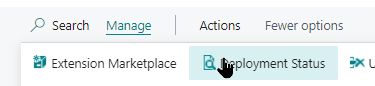
After you fill in a short form, you can check the progress of the installation in "Installed Extensions/Manage/Deployment Status":

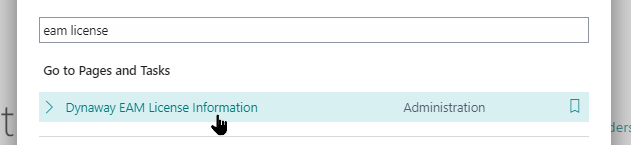
Search for and click on "EAM License Information":
And under the "Modules" tab:
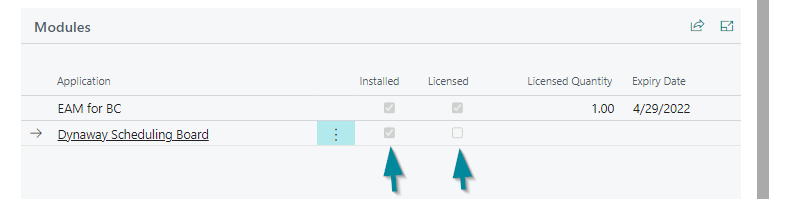
you will be able to see which modules are installed and if you have a license for them.
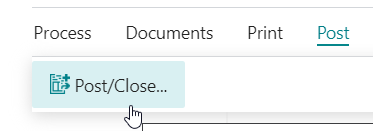
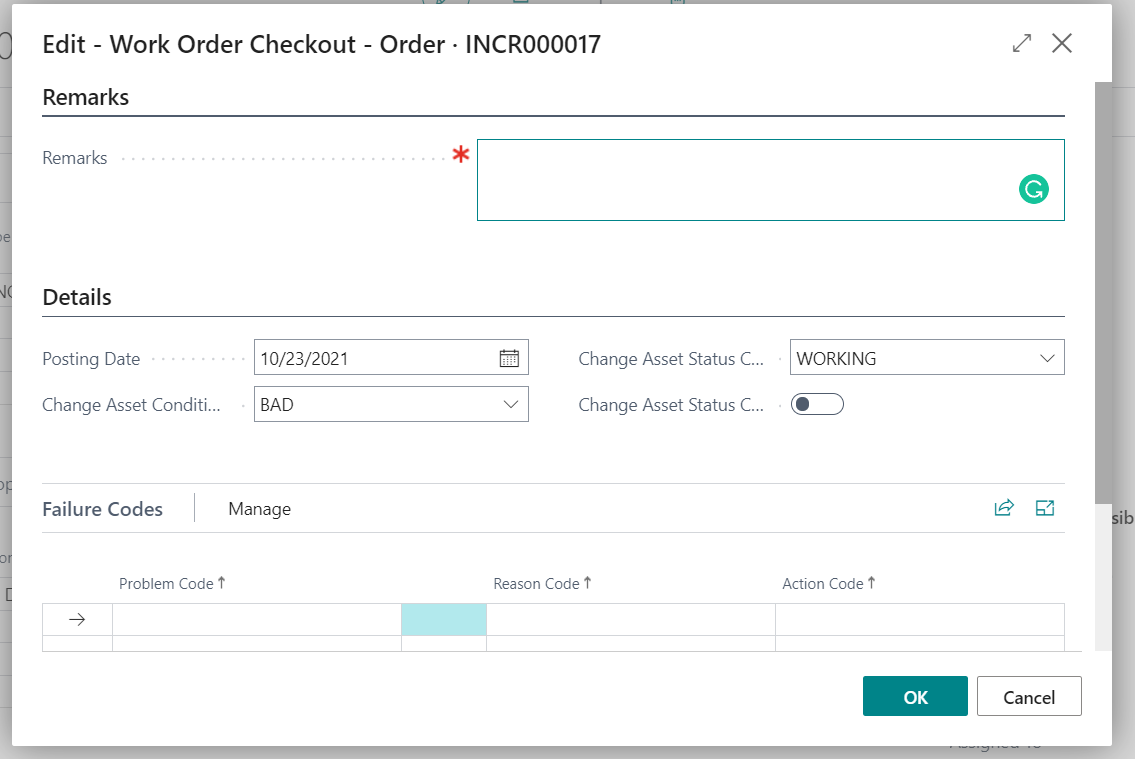
Click on Post - Post/Close on a Work Order:
and click "Post" and "OK" to post Items, Resources, and Expenses: 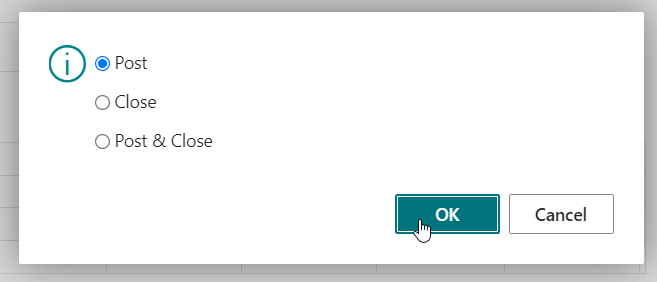
We will now be able to see posted Items and Resources on the Work Order:
If we wanted to, we could add more Resources, Items, or Expenses to the Work Order now.
select "Post/Close" again and click "OK" after selecting "Close":

Depending on how you set the system up in Assisted Setup, some other fields might be editable or mandatory:
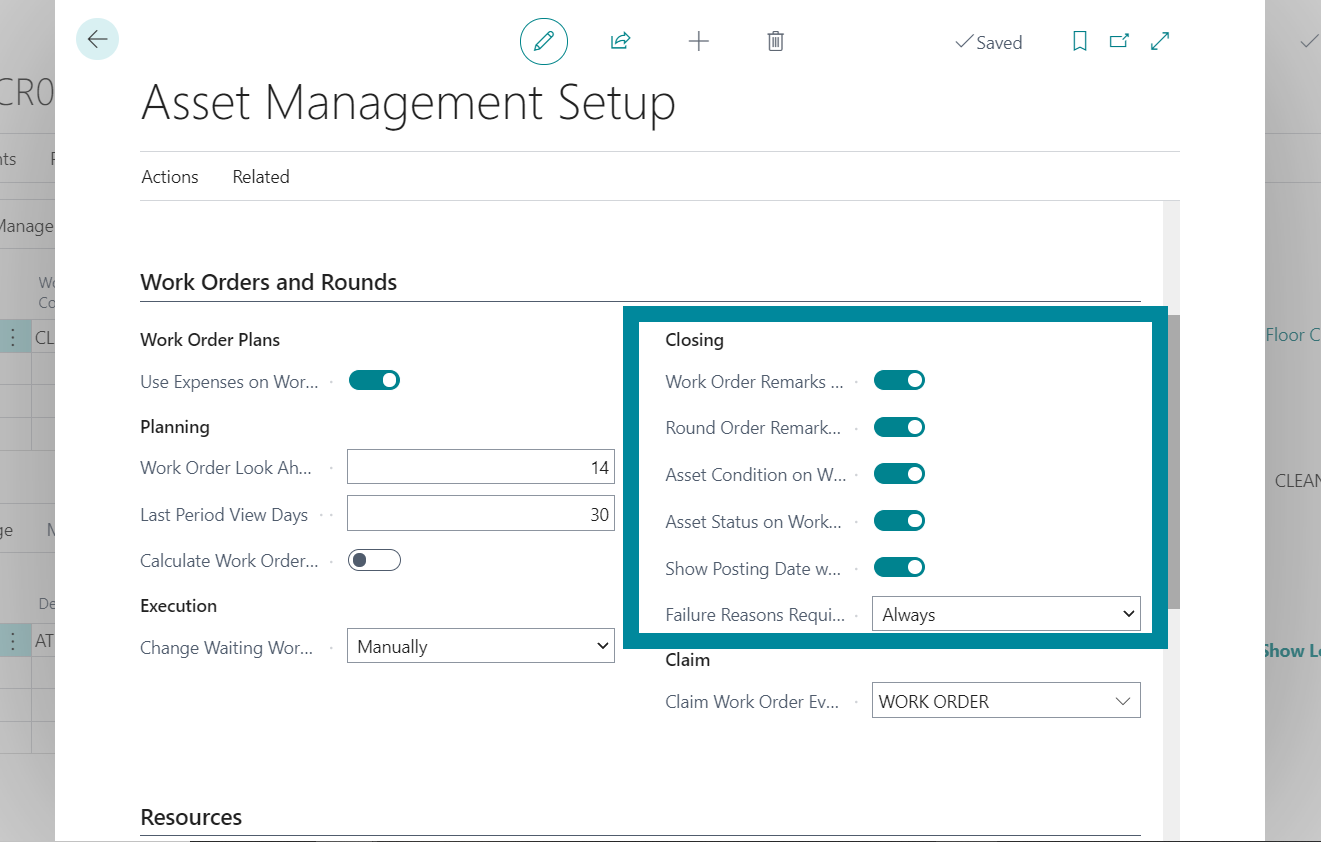
You can always change which fields are mandatory/available in "Asset Management Setup":
... in the Work Order and Rounds tab under "Closing":
Simulation Work Orders can help both maintenance BC users and non-maintenance BC users get an overview of how many Items and Resources will be needed in the future for planned work.
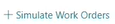
Work Orders can be simulated by clicking on "+ Simulate Work Orders" in the Asset Manager role center:
To see simulated Items and Resources for a specific Work Order Plan, open the Plan, and go to Related/Simulation/Instances - this will show all the Items and Resources that will be needed based on the Plan's frequency.
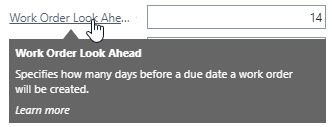
Work Order Plans will be simulated only for the Work Order Plans with frequencies that will be triggered within the planning horizon in the Asset Management Setup - this was set up in Assisted Setup and it is called "Work Order Lookahead":
For Items, a person responsible for purchases in your Business Central will see how many items will be needed when and why. The person can then create purchases for these Items if needed.
For Resources, in Related/Planning/Maintenance Availability, it's possible to see how many hours are assigned to and planned for Resources.
Work Order Plan simulation does not work for Measurement frequencies.
Plans are simulated:
